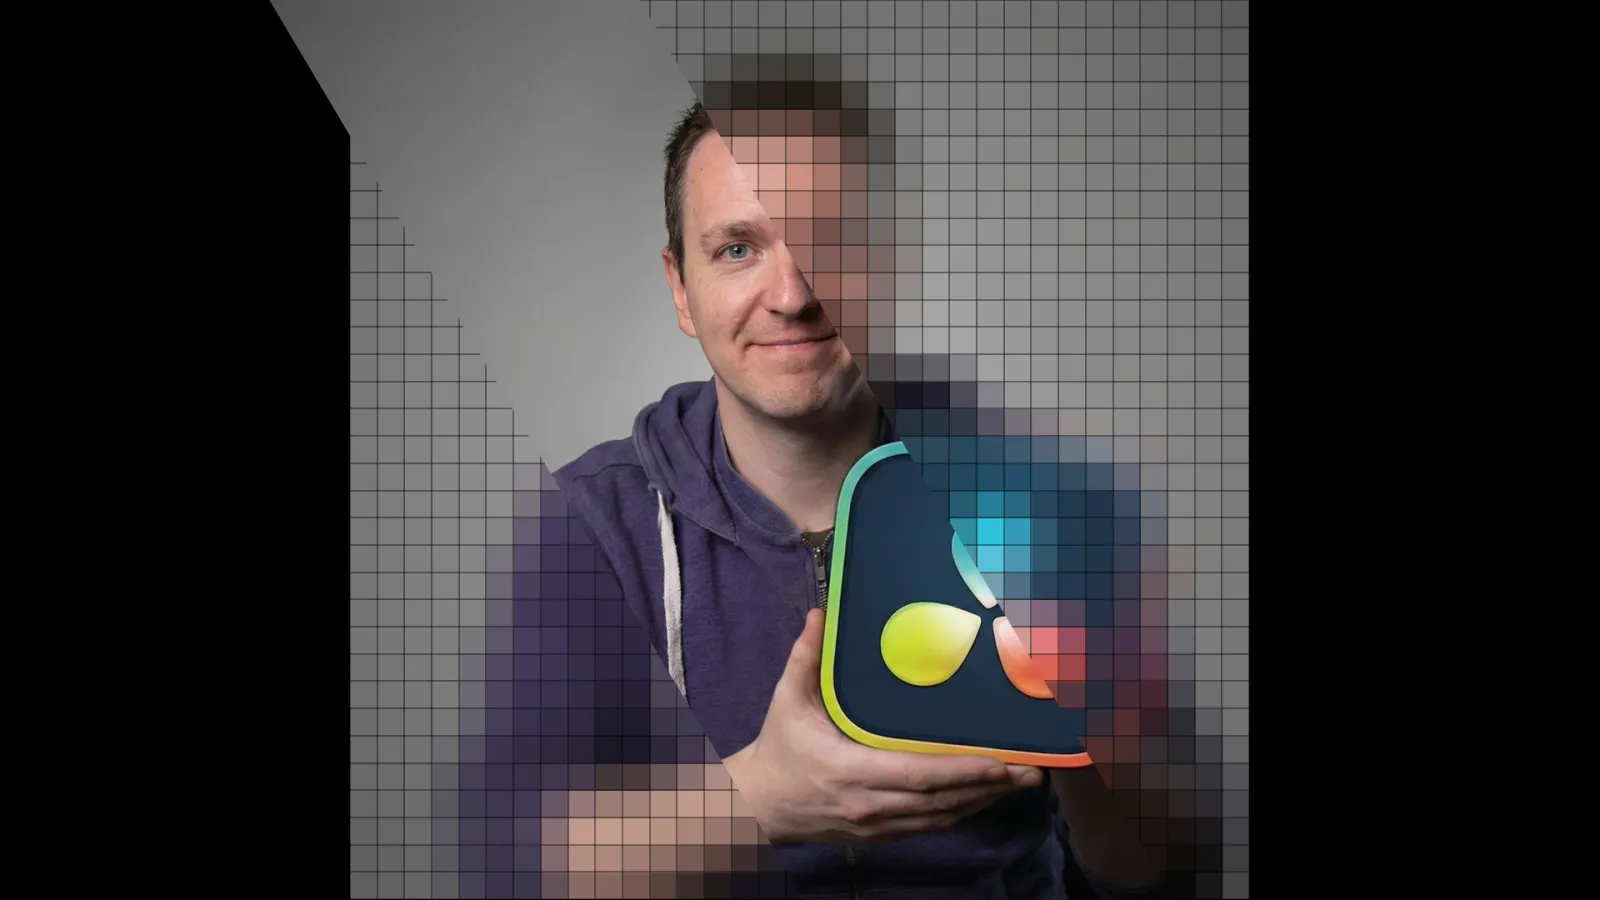
If you've seen a video by Ego, you've definitely noticed that little something extra. I'm not talking about his writing (which everyone loves, of course), but about his artistic signature. That pixelated look isn't just there to look nice: it tells a story.
Today, I'll show you how to recreate this pixel art effect in DaVinci Resolve.
Why use a Fusion Composition?
Before diving into the settings, a quick workflow tip: we're not going to apply the effect directly to the clip. We're going to create a Fusion Composition.
Why? Because a Fusion comp can be stretched, moved and placed exactly where you want on the timeline without breaking the rest of the edit. It's much more flexible.
Step 1: Basic pixelation (Mosaic Blur)
Once in Fusion, start by connecting a MediaIn (your image) to a MediaOut.
- Add a Mosaic Blur node.
- This is the tool that creates the "blocky" look.
- The magic setting: To get a clean result, I've already done the math for you. If you want a 33 by 33 pixel result, set the Pixel Frequency to 66. If you enter 33 directly, the pixels will be too big.
Step 2: Create the grid (the "screen" look)
What gives the pixel art effect in DaVinci Resolve all its charm is the thin black grid between each pixel. It gives that "old monitor" look.
- Add a Background node (black) and connect a Grid node to it.
- In the Grid node, set Major Line Width to 0 and set Row Cells and Column Cells to 33.
- Careful: By default, the image is rectangular. To get perfect squares, go to the Background settings (Image), uncheck Auto Resolution and force the size to 1080 x 1080.
Step 3: Control the thickness with "Erode/Dilate"
To make the grid really thin, we'll use a small technical trick:
- Add an Invert Color node (to get a white grid on a black background).
- Add an Erode/Dilate node. This is the node that lets you control the thickness of your grid lines with great precision, where the Grid node is limited: its line width can't go below a certain minimum.
Step 4: Create the pixelation mask (the technical setup)
This is where it gets interesting. We want our grid to draw black lines between the blocks of our pixelated image.
- Add a second Background node, also black, and connect it to the main flow, after the Mosaic Blur: Fusion creates a Merge with this Background on top. For now, the image is completely black, that's normal.
- Add a Bitmap node and connect the output of the
Erode/Dilateto its input. - Connect the Bitmap output to the mask input of this second Background.
- Nothing happens yet, because the grid image has no alpha channel (press A in the viewer to check). In the Bitmap settings, set the Channel to Luminance: the alpha is created and the grid appears over your pixelated image.
- If you get the opposite (black squares instead of black lines), check Invert in the mask settings.
- Are the lines a bit gray when the grid is very thin? Still in the Bitmap, adjust the thresholds (Low and High) to make them black again.
Step 5: Alignment and finishing touches
If you look closely, your pixels may not line up exactly with the grid cells. That's normal: the grid takes up a little space, and the 66 Pixel Frequency doesn't account for its thickness.
- Go back to your Mosaic Blur and play with the Offset to shift the pixels slightly.
- If that's not enough, change the Pixel Frequency or the grid position very slightly, until each block falls into its cell.
- You can also adjust the Anti-aliasing to make the effect more or less "hard" to your taste.
Final word: your artist's brain
Now you have the technique. But don't forget: what makes Ego's video work is that the visuals were designed to be pixelated.
The effect doesn't do everything, what you put underneath is what counts. Have fun with contrasting colors and simple shapes to really bring out that retro-gaming look.
Want to go further? The Fusion nodes guide details every node used here, and the Fusion masterclass (in French) teaches you how to create your own effects. For more ideas, also check out these 7 text effects in DaVinci Resolve.
FAQ
Which node should you use to pixelate an image in DaVinci Resolve?
In Fusion, the Mosaic Blur node creates the blocky look. For a 33 by 33 pixel result, set its Pixel Frequency to 66, not 33, otherwise the pixels will be too big.
How do you create the grid between the pixels for an old-screen look?
Connect a Grid node to a black 1080 x 1080 Background, with 33 Row Cells and 33 Column Cells. Then add an Invert Color and an Erode/Dilate to adjust the line thickness, then a Bitmap set to Luminance that you use as a mask on a black Background placed over the pixelated image.
Why aren't the pixels aligned with the grid?
The grid takes up a little space, so the Mosaic Blur and the grid don't always land in exactly the same place. Play with the Mosaic Blur Offset, and if needed slightly adjust the Pixel Frequency, until the pixels line up with the cells.