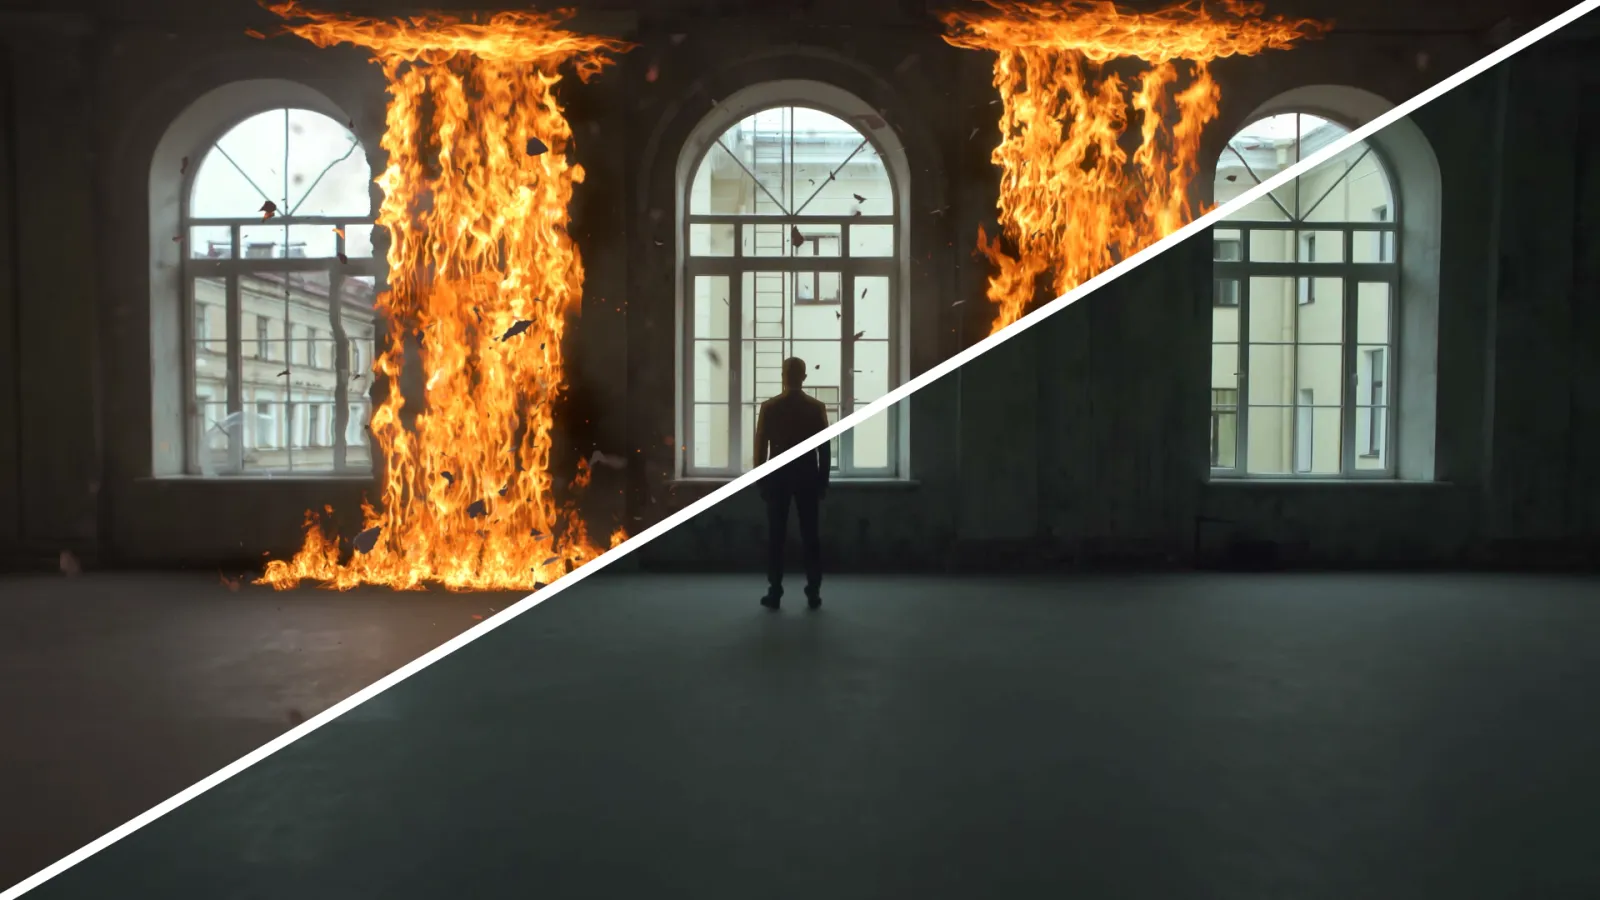
Visual effects (VFX) are part of almost every video today: a title that follows an object, a replaced sky, a person keyed into a set that doesn't exist. DaVinci Resolve has everything you need to create them, even in its free version, thanks to its Fusion page.
I'll show you where to find the effects, how Fusion works, and then we'll build a real effect together from A to Z: the clone effect, which makes the same person appear twice in the shot. But first, a confession.
DaVinci Resolve includes a page dedicated to visual effects
Unlike most video editing software, DaVinci Resolve doesn't need a second application for VFX. Everything happens in two places:
- The Effects Library on the Edit page, for ready-to-use effects you drag onto a clip.
- The Fusion page, to build your own effects: keying, compositing, animated titles, motion design, tracking.
Fusion isn't a gimmick bolted onto the software. It was originally a standalone compositing application, used on movies and TV series, before Blackmagic Design integrated it into DaVinci Resolve.
DaVinci Resolve effects for beginners
For your first effect, you don't need to open Fusion. The built-in effects (Resolve FX) already cover a lot of needs: blurs, glows, distortions, light effects, stabilization, vignettes.
To add one:
- On the Edit page, open the Effects panel at the top left.
- Search for the effect by name in the search bar.
- Drag it onto your clip in the timeline.
- Adjust it in the Inspector, Effects tab.
To apply the same effect to several clips at once, put it on an Adjustment Clip placed above them. If you want a few ideas to get started, I detailed 7 easy DaVinci Resolve effects for beginners.
DaVinci Resolve transitions: use them sparingly
Transitions are also in the Effects Library: dissolves, wipes, zooms, more elaborate Fusion transitions. You drag them between two clips, then adjust their duration by pulling their edges.
I'm telling you from experience: this is the effect beginners overuse the most. In the vast majority of cases, a simple cut or a subtle dissolve does the job better. I talk about it at more length in the 10 most common video editing mistakes.
Fusion: the key tool for creating custom effects
In Fusion, you don't work with stacked layers but with nodes connected to each other. Each node does just one thing: read an image, key it, blur it, move it, layer it over another. The image flows from node to node, from left to right, all the way to the MediaOut, which sends the result back to your timeline.
At first, it's disorienting. But that's exactly what made me leave After Effects: with nodes, you see the entire path of the image at a glance, and you can change any step without precomposing everything.
To open Fusion on a clip, place the playhead on it and click the Fusion page at the bottom of the screen. If you want to create a standalone effect you can move around freely, use a Fusion Composition from the Effects Library instead.
Tutorial: the clone effect (one person twice in the same shot)
Time to practice with a simple but spectacular effect, perfect for understanding compositing: making the same person appear twice in the same shot. It only uses free nodes.
1. The shoot
Put the camera on a tripod and don't touch it again: same framing, same focus, same exposure. Shoot a first take with the person on the left of the frame, then a second one with the person on the right. Avoid having the two positions overlap, and if possible shoot a few seconds of the empty set: they'll save you if something moves.
2. The blocking
- In the timeline, select the first take and open the Fusion page: it comes in as
MediaIn1. - Drag the second take from the Media Pool into the node editor: a
MediaIn2appears. - Add a Merge node:
MediaIn1into its yellow input (Background),MediaIn2into its green input (Foreground), and the Merge output intoMediaOut1. - Add a Rectangle mask to the Merge's mask input and roughly place it over the half of the image where the person from the second take is.
You can already see your two characters. The edge of the rectangle is probably visible, that's normal: at this stage, just check that the two positions work together and that the timing of the two takes is right. Shift the second take in time if needed.
3. Refine, pass by pass
- Replace the rectangle with a Polygon mask that follows a neutral area of the set (a wall, the corner of a piece of furniture), where the seam will be least visible.
- Increase the mask's Soft Edge to soften the seam.
- If the light changed a little between the two takes, add a Color Corrector after
MediaIn2to match the two halves. - If the person in the second take crosses the seam line, animate the mask with keyframes so it follows them.
The same principle (two images, a Merge, a mask) is the foundation of most compositing effects. For the next step, keying, here's my complete tutorial for nailing a green screen in DaVinci Resolve.
Text effects in DaVinci Resolve
Animated titles are the other major use of Fusion. With the Text+ node, you can animate each letter, add outlines, shadows and glows, and make your text follow an object. I break down the build step by step in 7 text effects in DaVinci Resolve.
Tracking: effects that follow an object
Motion tracking attaches a text, a logo or an effect to an element moving in the image. In Fusion, the Tracker node follows a point or a group of points, and the Planar Tracker follows a flat surface (a screen, a poster, a wall). Both are available in the free version. The Camera Tracker, which reconstructs the camera movement to integrate 3D objects, requires Studio.
For a concrete example of 3D compositing in Fusion, see how to create an animated 3D map, Inoxtag style.
Visual effects need a finished edit
Never start VFX on an edit that's still changing. An effect built in Fusion is tied to its clip: if you recut afterward, you may have to redo it. Finish your cuts, lock the pacing, and only then tackle the effects.
And keep in mind what my journey taught me: the best effects in the world won't save a poorly told video. The effect is there to serve the story, never the other way around.
The free version already lets you create many effects
The free version of DaVinci Resolve includes all of Fusion, the Delta Keyer, the Trackers, Text+ and a good share of the Resolve FX. To learn VFX, it's more than enough.
DaVinci Resolve Studio mainly adds the AI-based tools (Magic Mask, Relight, Depth Map), noise reduction, motion blur, the Camera Tracker and effects like the Film Look Creator. If an effect adds a watermark to your export in the free version, it's reserved for Studio. All the details are in my comparison DaVinci Resolve free vs Studio.
To go further, free plugins also add hundreds of effects to Fusion.
A DaVinci Resolve course speeds up learning effects
Fusion takes some getting used to. Most people who give up on it do so because they tackle a complex effect without understanding the logic of nodes, and they get stuck without knowing why.
My Fusion masterclass (in French) starts from the basics (nodes, the Merge, masks) and builds up to compositing, tracking and motion design, with a concrete project in every chapter. The free Fusion nodes guide then serves as a cheat sheet for every node.
Creating visual effects in DaVinci Resolve: key takeaways
For a simple effect, the Effects Library on the Edit page is enough: drag, drop, adjust in the Inspector. For a custom effect, Fusion and its nodes give you full control, in the free version as well as in Studio. And whatever the effect, work in the right order: a finished edit, a quick blocking, then successive passes, from farthest to nearest.
FAQ
How do you add an effect in DaVinci Resolve?
On the Edit page, open the Effects panel, search for the effect and drag it onto your clip in the timeline. Its settings then appear in the Inspector, Effects tab.
How do you make a clone effect in DaVinci Resolve?
Shoot two takes on a tripod with the person in two different places. In Fusion, layer them with a Merge node and limit the second take to one half of the image with a soft-edged mask.
Are DaVinci Resolve effects free?
Fusion and a large share of the effects are available in the free version. AI-based tools like Magic Mask, as well as noise reduction and motion blur, require DaVinci Resolve Studio.
Is Fusion hard to learn?
Fusion is disorienting at first because it works with nodes rather than layers. Once you understand the logic, it becomes clearer than layers, because you see the entire path of the image at a glance.
Fusion or After Effects for visual effects?
After Effects works with layers and requires precomposing as soon as the project gets complex. Fusion works with nodes, like the software used by visual effects studios, and it comes free with DaVinci Resolve.