When I started editing in DaVinci Resolve, my videos all had the same problem. They looked thrown together. Not polished, just... amateur. No matter how many hours I spent grading, tweaking, starting over, I couldn't see what was wrong.
Until the day I stopped asking myself "how do I do this effect" and started asking why the pros used it. And once you open that door, you can't close it again.
So let's look at 7 easy-to-recreate effects that give a pro look right away, and above all, when to use them, and when not to.
1. The diffusion filter (Black Mist / Black Pro-Mist), digitally
Why use a diffusion filter? To break the clinical sharpness of the digital sensor and get back that organic, slightly soft look reminiscent of older footage.
A Black Mist or Black Pro-Mist filter goes physically on the lens and softens features, smooths skin and creates a slight diffused glow around the highlights. The problem? Once you've shot with it, there's no going back.
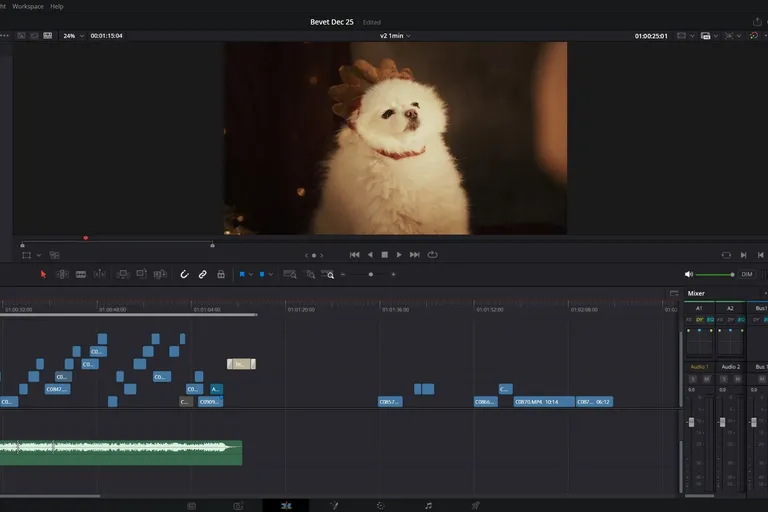
The solution in DaVinci Resolve: recreate the effect directly on the Color page with the Glow effect. Place it on a node just before or after your vignette, depending on the look you want.
Pro tip: in the Glow settings, set the Shine Threshold to 0, then go to Advanced Control and switch the Composite Type to Soft Light. You instantly get a more interesting effect that adds both a glow and subtle contrast to the image. Then play with the opacity to dial in the intensity, the advantage over the physical filter.
And if you're after a real halo of light, around a sign or a neon, I created Glow Expo, free, which does it in a single effect with no keyframes.
If you want to go further on the Color page, our DaVinci Resolve color grading course (in French) guides you step by step.
2. The smoke machine (or Light Rays) for depth
Why a smoke machine? It gives depth to the image, reveals light rays and instantly creates a cinematic atmosphere.
No smoke machine on hand? DaVinci Resolve lets you simulate the effect with Light Rays.
The step-by-step method:
- Add a node and apply the Light Rays effect
- Position the light source where the sun (or the source) is in your shot
- If the source moves, use the tracker: Add Tracker Point on the sun
- Leave the length at the default 50
The golden rule of VFX: once you find the effect looks good, cut it in half. In Global Blend, set it to 0.5. The result becomes subtle and realistic, exactly like a real atmospheric effect.
3. Animated text with real personality
DaVinci Resolve's basic text sorely lacks life. For a vlog look or something more personal, start by choosing a handwritten font, then go to the Fusion page to animate it.
The Displace technique:
- Add a Displace node (Ctrl + Space)
- Add a Fast Noise as the distortion map
- Plug the Fast Noise into the green input of the Displace
- Adjust the Refraction Strength and the Scale to add movement
- Switch from radial mode to X/Y mode with an offset for more natural movement
For automatic animation: in the Fast Noise, change the Seethe Rate value, and the animation generates itself. Then add a Stop Motion effect (value 5) for that comic book or animated film look.
Every node used here is explained in our Fusion nodes guide. And for more animation ideas, also check out these 7 text effects in DaVinci Resolve.
4. Motion Trail to isolate a character
Want to show that a character is isolated while the rest of the world rushes around them? Motion Trail is much more powerful than a simple Motion Blur.
In Fusion, add the Motion Trail node (Ctrl + Space). Unlike Motion Blur (limited to Resolve Studio and limited in intensity), Motion Trail allows a real, pronounced trail. You can push the effect very far to create that strong emotional contrast between the stillness of the subject and the movement of the world.
5. Simulate a vintage lens with Radial Blur
You know those old lenses that create a swirly bokeh at the edges? You can simulate this effect in a few seconds.
The method:
- Ctrl + Space, add Radial Blur
- Apply the rule: if you like it, cut it in half
Tip to keep the subject's details: duplicate your shot, place the copy on top, and use Magic Mask (Studio version, see our DaVinci Resolve free vs Studio comparison) in Fusion to track your character. You keep all the details of the face while getting the vintage effect in the background.
6. Visual humor with the Dent effect (big eyes)
For videos with a touch of humor, the Dent effect in Fusion lets you distort a specific area, perfect for exaggerated eyes.
Method:
- In Fusion, go to Tools, then Warp, then Dent
- Adjust the size and strength to target the eye
- Important for tracking: don't track the eye directly (it moves all over the place, blinks, reflects), track the corner of the eye instead
- Right-click Center, Modify with, Tracker Position
- Use an offset to put the effect back in place on the eye
- Repeat for the second eye
7. Glitches to suggest a malfunction
A glitch is perfect to represent something going wrong, a bug, a moment of narrative tension.
Three ways to use it:
- On a video shot: add the Digital Glitch effect from the Effects panel
- On text: the same effect works on Text+
- As a transition: in the video transitions, Block Glitch creates a pixelated transition perfect for the start of a sequence
Conclusion
These DaVinci Resolve effects are beginner-friendly but give a professional look when used with restraint. Above all, remember the golden rule of VFX: when you find an effect looks good, cut it in half. That's often where the magic happens and where your videos go from amateur to cinematic. To go further in Fusion, it's all in the Fusion masterclass (in French).