Video editing has never been more accessible. With free software, a few online tutorials and a decent computer, Mac or Windows, anyone can edit their own videos.
Getting a quality video takes more than good software, though. Experienced editors have mostly learned to avoid a series of mistakes that almost every beginner makes, often without realizing it.
Whether you're a beginner, a content creator or an entrepreneur, here are the 10 most common mistakes, how to avoid them and, each time, the right move in DaVinci Resolve. If you're starting from scratch, begin with our guide to learning video editing.
1. Starting a video edit without a clear plan
Opening your software without knowing where you're going is the best way to go around in circles for hours. Before importing a single clip, set your goal, the message you want to get across, your target audience and the distribution format (YouTube, Instagram, TikTok, corporate video...).
A few lines of script or a quick storyboard are enough. You'll know which shots to look for and in what order to edit them, and you'll save time on the rest of the project.
2. Poorly organizing your footage and skipping the review
Importing hundreds of files in a jumble is a guaranteed way to waste a huge amount of time looking for the right take. Before editing, sort your takes, rename your files, delete unusable clips and put everything in folders by scene or sequence.
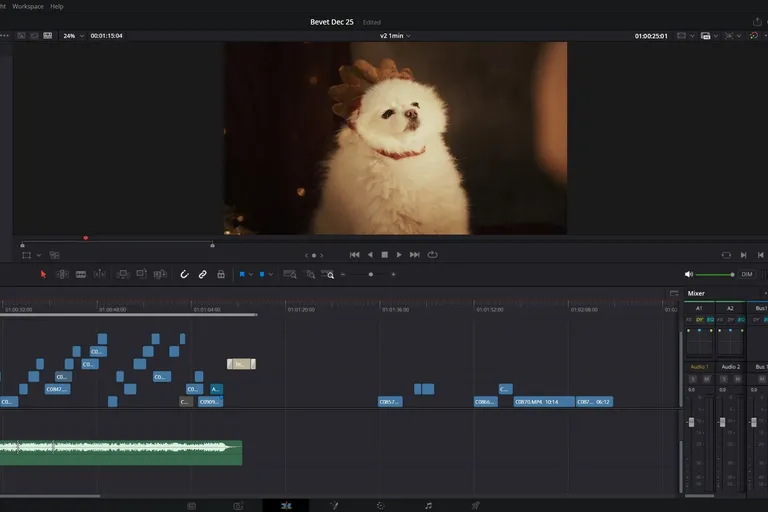
Then comes logging your footage: watching every take and noting the good moments before you touch the timeline. In DaVinci Resolve, keywords and Smart Bins on the Media page sort your clips automatically, by camera, by scene or by keyword.
Also keep your files in the same place from start to finish. Moving a folder mid-project is the most common cause of the dreaded Media Offline.
3. Piling on effects and transitions
When you're starting out, you want to try everything the software offers: transitions at every cut, constant zooms, animations everywhere. The viewer ends up watching the packaging instead of following the story.
A transition should serve the story. In the vast majority of cases, a simple cut or a subtle dissolve does the job better.
If you still want to add a bit of style, choose a few easy, understated effects and save them for the moments that deserve them.
4. Neglecting the pacing of your edit
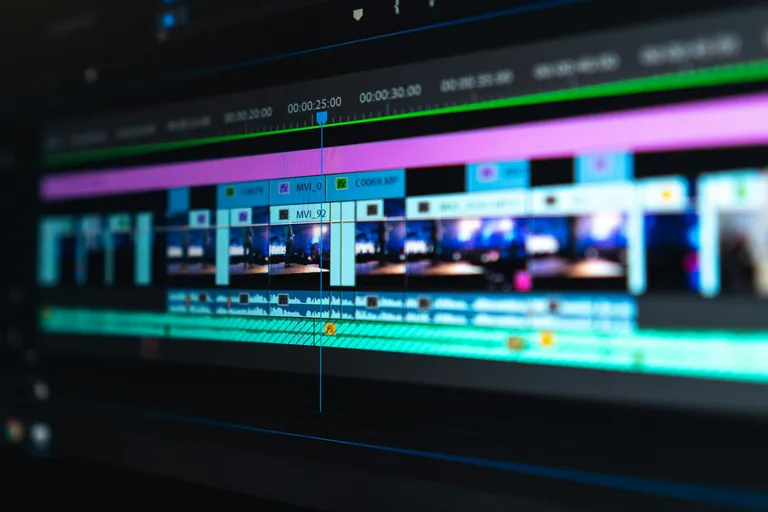
Pacing comes down to the length of each shot. The classic beginner mistake is letting some sequences drag on because they were hard to shoot. The opposite mistake, cutting shots together very fast to "make it dynamic", tires the viewer just as much. A vlog, a tutorial and a short film don't have the same tempo, and every cut needs a reason to exist.
A good habit: zoom out on the timeline and look at the length of your shots. A long series of identical blocks often signals a section that drags. Also watch out for continuity errors, like a hand that changes position between two shots: they happen on set, but it's in the edit that they break the flow of the scene.
5. Neglecting color grading
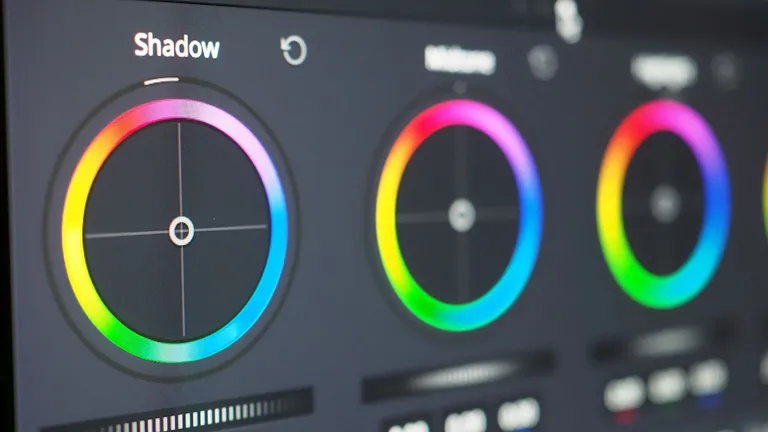
Shots filmed at different times of day or with two cameras never have the same colors. Placed back to back, these differences jump out, even to a viewer who couldn't say what's wrong.
Color grading happens in two stages:
- Correction: exposure, white balance and contrast, to make the images consistent with each other.
- The look: the tint and mood that give the video its identity.
In DaVinci Resolve, the Color page is the industry-standard tool for film, and it's available in the free version. To go further, our color grading course (in French) teaches you to correct and stylize your images step by step.
6. Underestimating the importance of sound
A viewer will forgive average image quality. They'll close a video much faster if the voice crackles or gets buried under the music. Remove unwanted noise, balance the levels between voice, music and ambience, and don't overdo the sound effects.
For a voiceover, aim for a consistent level: YouTube normalizes loudness around -14 LUFS, and a mix that's too loud will simply be turned down. In DaVinci Resolve, the Fairlight page shows this level live. In the Studio version, Voice Isolation removes wind or air conditioning from a voiceover in one click.
7. Choosing music that doesn't match the mood
Music largely decides what the viewer feels. An epic theme on a calm corporate video, or a track that's too upbeat on a serious subject, and the whole edit rings false.
Use royalty-free music, especially for social media and YouTube, where a copyright claim can block monetization or the entire video.
8. Forgetting subtitles and on-screen text
A large share of videos are watched without sound, especially on mobile. Without subtitles, these viewers drop off in the first few seconds. Clear titles, a few visual elements and a call to action at the end of the video also help people understand and remember the message.
For on-screen text, the Text+ tool in DaVinci Resolve goes far beyond basic titles (see our 7 text effects). The Studio version can also generate subtitles automatically from the audio.
9. Exporting in the wrong format
Losing quality at export time, after hours of work, is the most frustrating mistake on the list. Before starting the render, check the resolution, codec, aspect ratio and video bitrate.
Each platform has its own formats:
- YouTube favors horizontal video.
- Instagram favors vertical: 4:5 for posts, 9:16 for Reels.
- TikTok mainly uses vertical video.
On the Deliver page of DaVinci Resolve, the YouTube preset sets the resolution and codec for you.
10. Thinking the software does all the work
Switching editing software won't make your videos better. What makes the difference is your techniques and your method.
Whether you use DaVinci Resolve, Premiere Pro, Final Cut Pro or free software, the basics of editing stay the same: telling a story, guiding the viewer's eye, keeping an effective tempo and delivering consistent content.
The best video editing tips to remember
A good edit relies more on method than on effects. Here are the video editing tips and tricks to keep in mind:
- Prepare your project before you start.
- Organize your footage and sort out the good takes.
- Polish every transition between shots.
- Avoid unnecessary transitions.
- Color grade to harmonize colors.
- Work on sound with as much care as the picture.
- Edit the music to the sequence, not the other way around.
- Export in the right format.
Learn video editing with Creator Academy
You can learn on your own, but you often lose time not knowing what to work on first. Creator Academy courses (in French) guide you through every stage of editing, whether you're just starting or already have a few projects under your belt: mastering DaVinci Resolve from editing to color grading, project organization, modern editing techniques and creating content for social media and YouTube.
FAQ
What are the best tips for a beginner in video editing?
Start with the basics: organize your footage, cut unnecessary sequences, work on pacing, take care of the sound and avoid visual overkill. Regular practice remains the best way to improve.
Which video editing software should you choose?
It all depends on your needs. DaVinci Resolve is an excellent option, especially thanks to its very complete free version (see what changes between DaVinci Resolve free and Studio). Premiere Pro and Final Cut Pro are also widely used by professionals.
How do you make a video edit more dynamic?
Vary your shots, cut out dead time, polish your transitions and choose fitting music, while keeping a tempo consistent with your story and your audience.
Are transitions essential?
No. In most cases, a simple cut or a subtle dissolve gives a cleaner result than overly flashy transitions.
How long does it take to learn to make a good video edit?
You can pick up the basics in a few weeks with regular practice. Mastering advanced techniques takes several months of real projects and, ideally, a structured course.