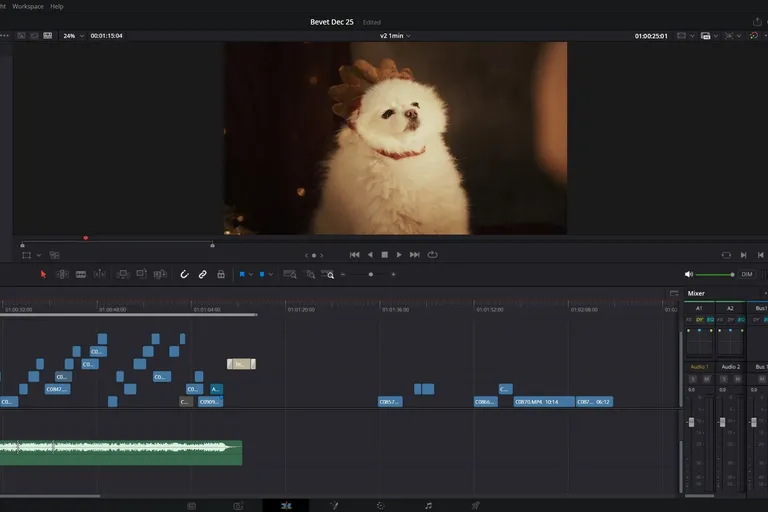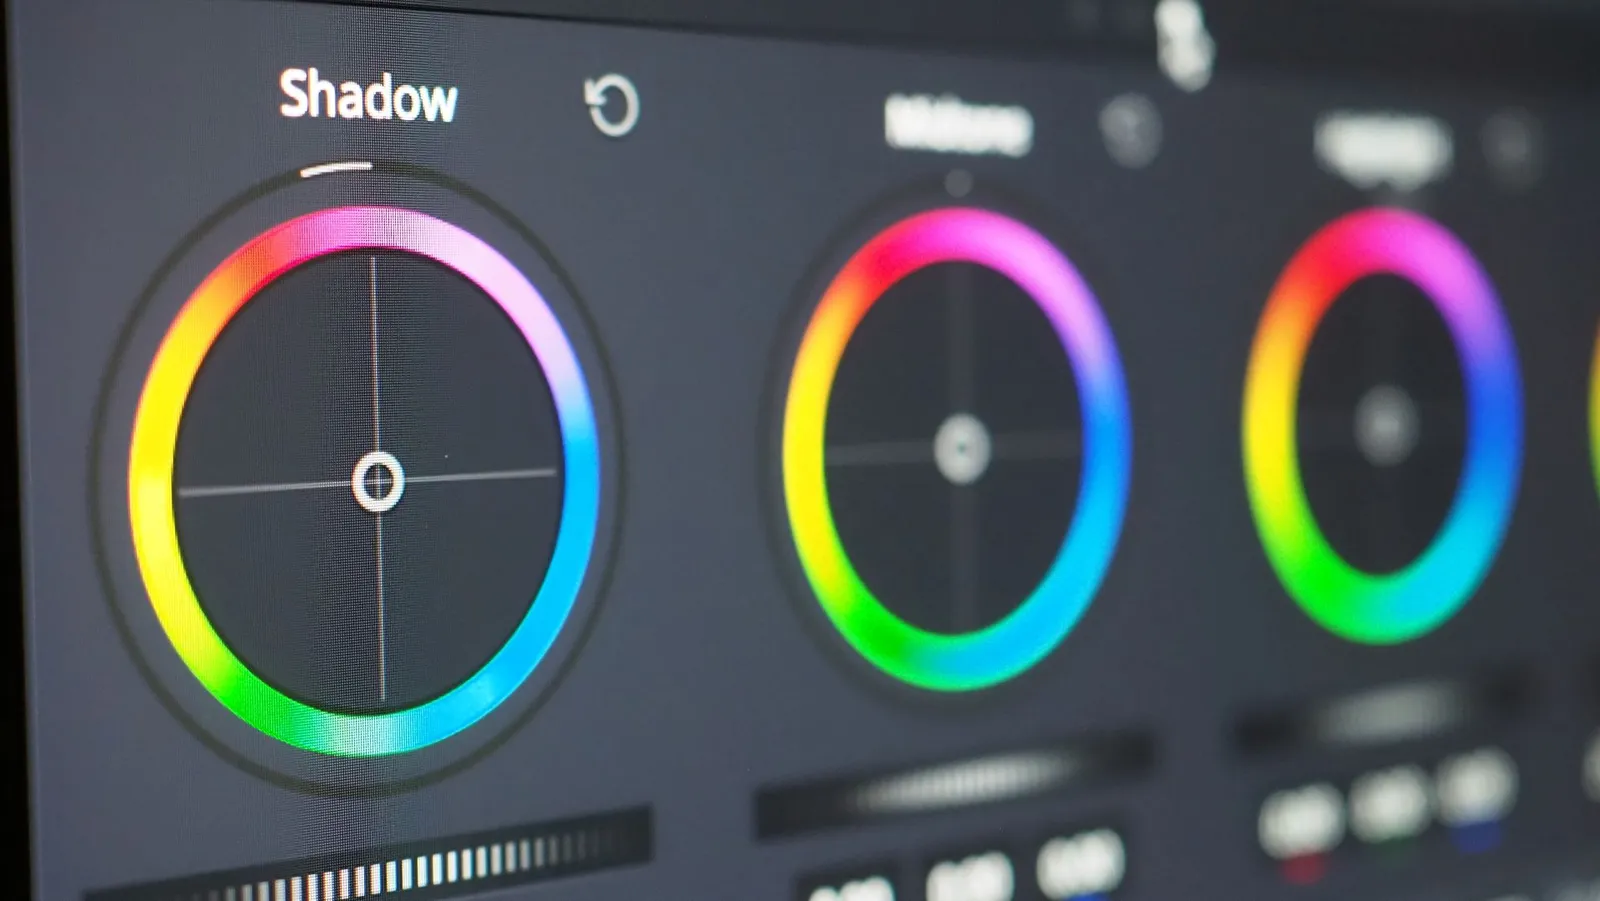
I've used DaVinci Resolve every day for years, and I train editors on it. Yet when I think back to my early days, there are things nobody told me and that I learned the hard way: lost projects, washed-out exports, hours spent on the wrong problem.
Here are the 10 things I wish I'd known before starting DaVinci Resolve. If you're a beginner, they'll keep you out of the traps almost everyone falls into during their first week.
1. DaVinci Resolve doesn't store your files, it references them
When you import a video, Resolve doesn't copy it: it just notes where it lives on your drive. If you move or rename the file afterward, it can't find it anymore, and you get the red Media Offline screen. One day, one of my editors called me in a panic: he had deleted an entire folder from inside Resolve, and the whole project was offline.
Another surprise: your projects aren't files you can see in your file explorer. They live in a project library managed by Resolve. To back up or share a project, go through the Project Manager: right-click the project, then Export Project (a .drp file).
2. It's not one piece of software, it's eight pages
Media, Photo, Cut, Edit, Fusion, Color, Fairlight, Deliver: each page of DaVinci Resolve is almost a full application of its own. The trap is trying to learn everything at once and drowning.
To start, two pages are enough: Edit to cut and Deliver to export. Add Color once your edits hold up, Fairlight when sound becomes an issue, and Fusion last. If you're wondering how long all this takes, I gave concrete milestones in how long it takes to master DaVinci Resolve.
3. Choose the frame rate before importing
This is the trap I see most often with beginners. The project frame rate (25, 30, 24 frames per second) gets locked as soon as you create a timeline. If you get it wrong, you can no longer change it in the project settings.
Before importing anything, open the Project Settings and set the resolution and frame rate to match your main footage. If it's too late, create a new timeline and uncheck Use Project Settings to give it its own settings.
4. The graphics card matters more than the processor
DaVinci Resolve relies heavily on the graphics card (GPU): color grading, effects and Fusion all go through it. A computer with a big processor but a small graphics card will often be slower than a more modest machine that's better equipped on the GPU side.
If your computer is lagging, don't replace it right away. Generate proxies (right-click your clips, Generate Proxy Media): Resolve edits with lightweight versions of your footage and uses the originals for export. On a modest setup, it makes all the difference.
5. Smartphone videos can cause problems
Smartphones often shoot in H.265 with a variable frame rate. The result: choppy playback, out-of-sync audio, even unreadable clips. Resolve isn't the culprit: these formats are designed for storage, not for editing.
The fix is simple: transcode your videos before importing them, to ProRes or DNxHR, with a free tool like Shutter Encoder. Your footage takes up more space, but everything plays smoothly.
6. The free version is enough, but watch out for the watermark
You don't need to pay to learn: the free version includes every page, Fusion included. The one catch: some effects are reserved for Studio, and nothing stops you from applying them. You only find out at export, when your video comes out with a watermark.
If it happens to you, look for the paid effect hidden somewhere in your timeline. The full list of differences is in my comparison DaVinci Resolve free vs Studio.
7. Turn on automatic backups from day one
A crash late in the evening, and two hours of editing are gone. It only happens once if you turn on the right options right away: in the preferences, User tab, Project Save and Load section, check Live Save (continuous saving) and Project Backups (regular copies of your project).
The day a project gets corrupted, you'll find these backups in the Project Manager: right-click the project, then Project Backups.
8. Fusion can wait
Fusion is impressive, and it's often the reason people choose DaVinci Resolve. But with its nodes, it's also the page that discourages the most beginners. Opening it in your first week is the best way to convince yourself Resolve is too complicated.
Learn to edit first. Once you're comfortable on the Edit page, Fusion becomes a natural next step instead of a wall. And when you're ready, my Fusion masterclass (in French) covers everything from the basics.
9. A washed-out export on Mac almost always comes from the display
A classic on Mac: your video looks perfect in Resolve, then washed out and brighter in QuickTime or on YouTube. In most cases, your grade isn't the problem: it's a difference in color management between Resolve and the rest of macOS.
Two settings solve most of the problem. In the preferences, turn on Use Mac Display Color Profiles for viewers, so that what you see in Resolve matches what you'll see elsewhere. And in the project's color management settings, export with the Rec.709-A tag, designed for Mac displays.
10. The software doesn't make the editor
This is the lesson that took me the longest. At one point, I noticed that videos packed with effects did well on YouTube, so I devoted myself full time to visual effects. My videos didn't take off. I thought the problem was the colors, and I got good at color grading. My videos still didn't do any better.
Every problem in my videos was an editing problem: story and pacing. DaVinci Resolve gives you cinema-grade tools, but it's your editing choices that make people watch a video to the end. I told my story in detail in learning video editing from scratch.
Before you get started
Above all, remember three habits: set up your project before importing, stop moving your files once editing has started, and turn on automatic backups. The rest will come with practice, one page at a time.
If you want to learn DaVinci Resolve in the right order, without falling into these traps, that's exactly what my beginner course does (in French). The first chapters are free.
FAQ
Where should I start in DaVinci Resolve?
Start with the Edit and Deliver pages: import, edit, export. Set the project resolution and frame rate before importing your footage, then add the other pages as your projects grow.
Can you change the frame rate of a DaVinci Resolve project?
It gets locked as soon as a timeline is created. However, you can create a new timeline with its own frame rate by unchecking Use Project Settings.
Why do my smartphone videos stutter in DaVinci Resolve?
They're often in H.265 with a variable frame rate, two formats that are hard to edit. Transcode them to ProRes or DNxHR with Shutter Encoder before importing them.
Why is my export washed out on Mac?
It's usually a difference in color management between DaVinci Resolve and macOS. Turn on Mac display color profiles for the viewers, and export with the Rec.709-A tag.
Do you need a powerful computer for DaVinci Resolve?
The graphics card matters more than the processor. On a modest setup, work with proxies: Resolve edits with lightweight files and uses the originals for export.